
Want to add some color to your walls but don’t want to make a commitment to an original art piece?
Do you need something fun and educational in your children’s room that brightens up the place?
Or are you finally committing to putting up your gallery wall?
The best solution to all of those is a poster!
A poster is a printed picture/ illustration that generally costs less than an original piece of art. It is the perfect & cheapest way to add some color to your space.
If you have been following me for a while you may know I offer A3 posters in my shop. These are printed on high quality art paper and come with a thick backing board. My posters are the perfect addition to a nursery, child’s room or study area as well as in classrooms. They immediately brighten up the wall and give you something educational and creative to look at.
Below are 3 simple ways to display my posters on your walls.
First, here is a list of items that you need.
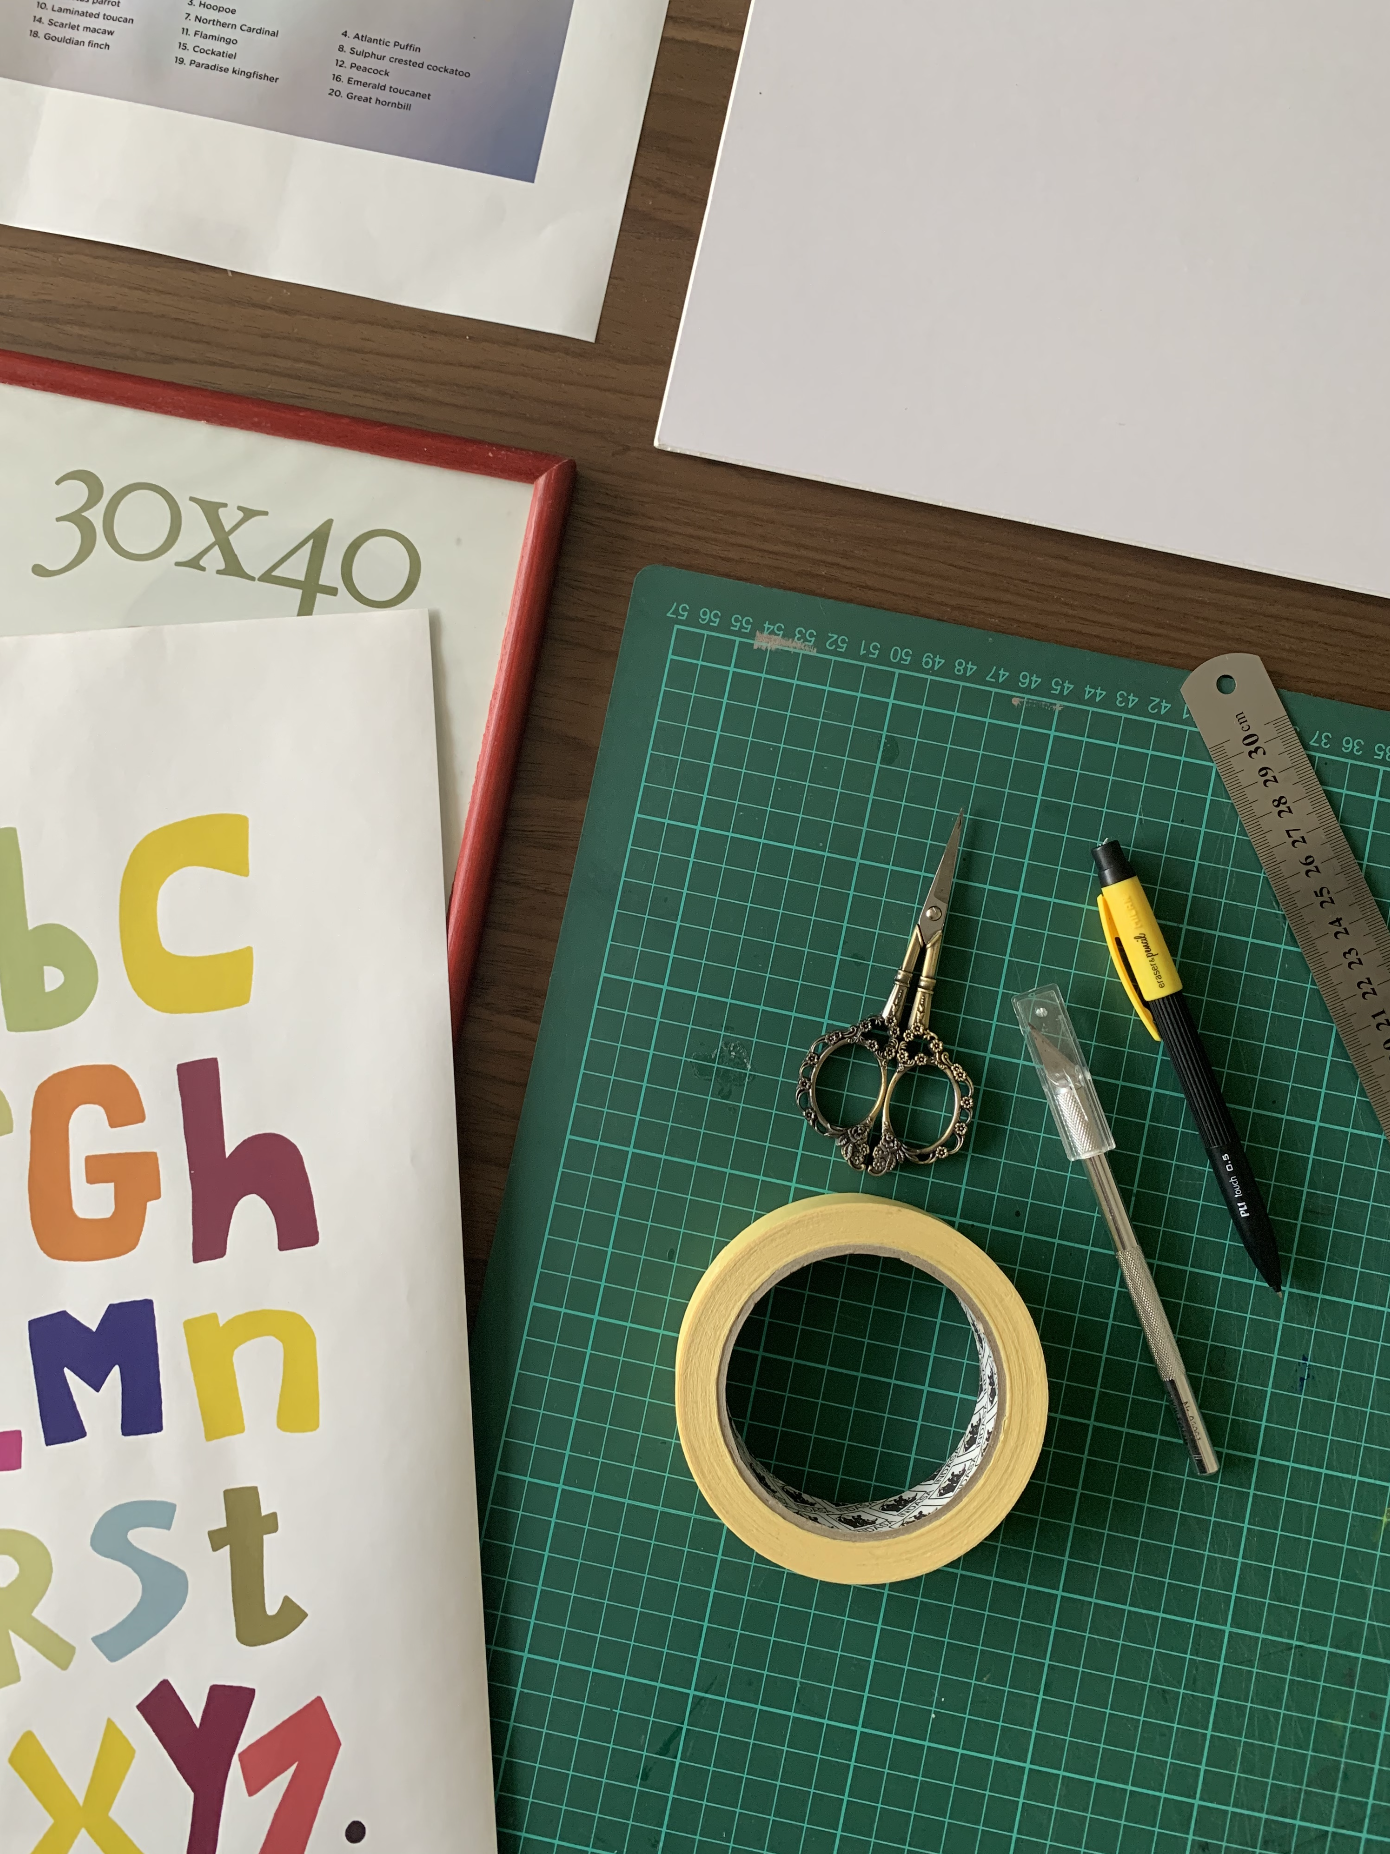
- A poster of any size. Mine are A3 (30 x 40 cm)
- A backing board. ( I sell my posters with a backing board, but if you don’t have one you can use a card board or thick paper cut to the size of your poster.
- A frame of the same size as the poster
- Some masking tape
- A cutting board and an x -acto knife.
- A pencil and an eraser
- A ruler
- and some scissors.
Option 1 – if you want to prop up the art on a shelf without hanging it on the wall
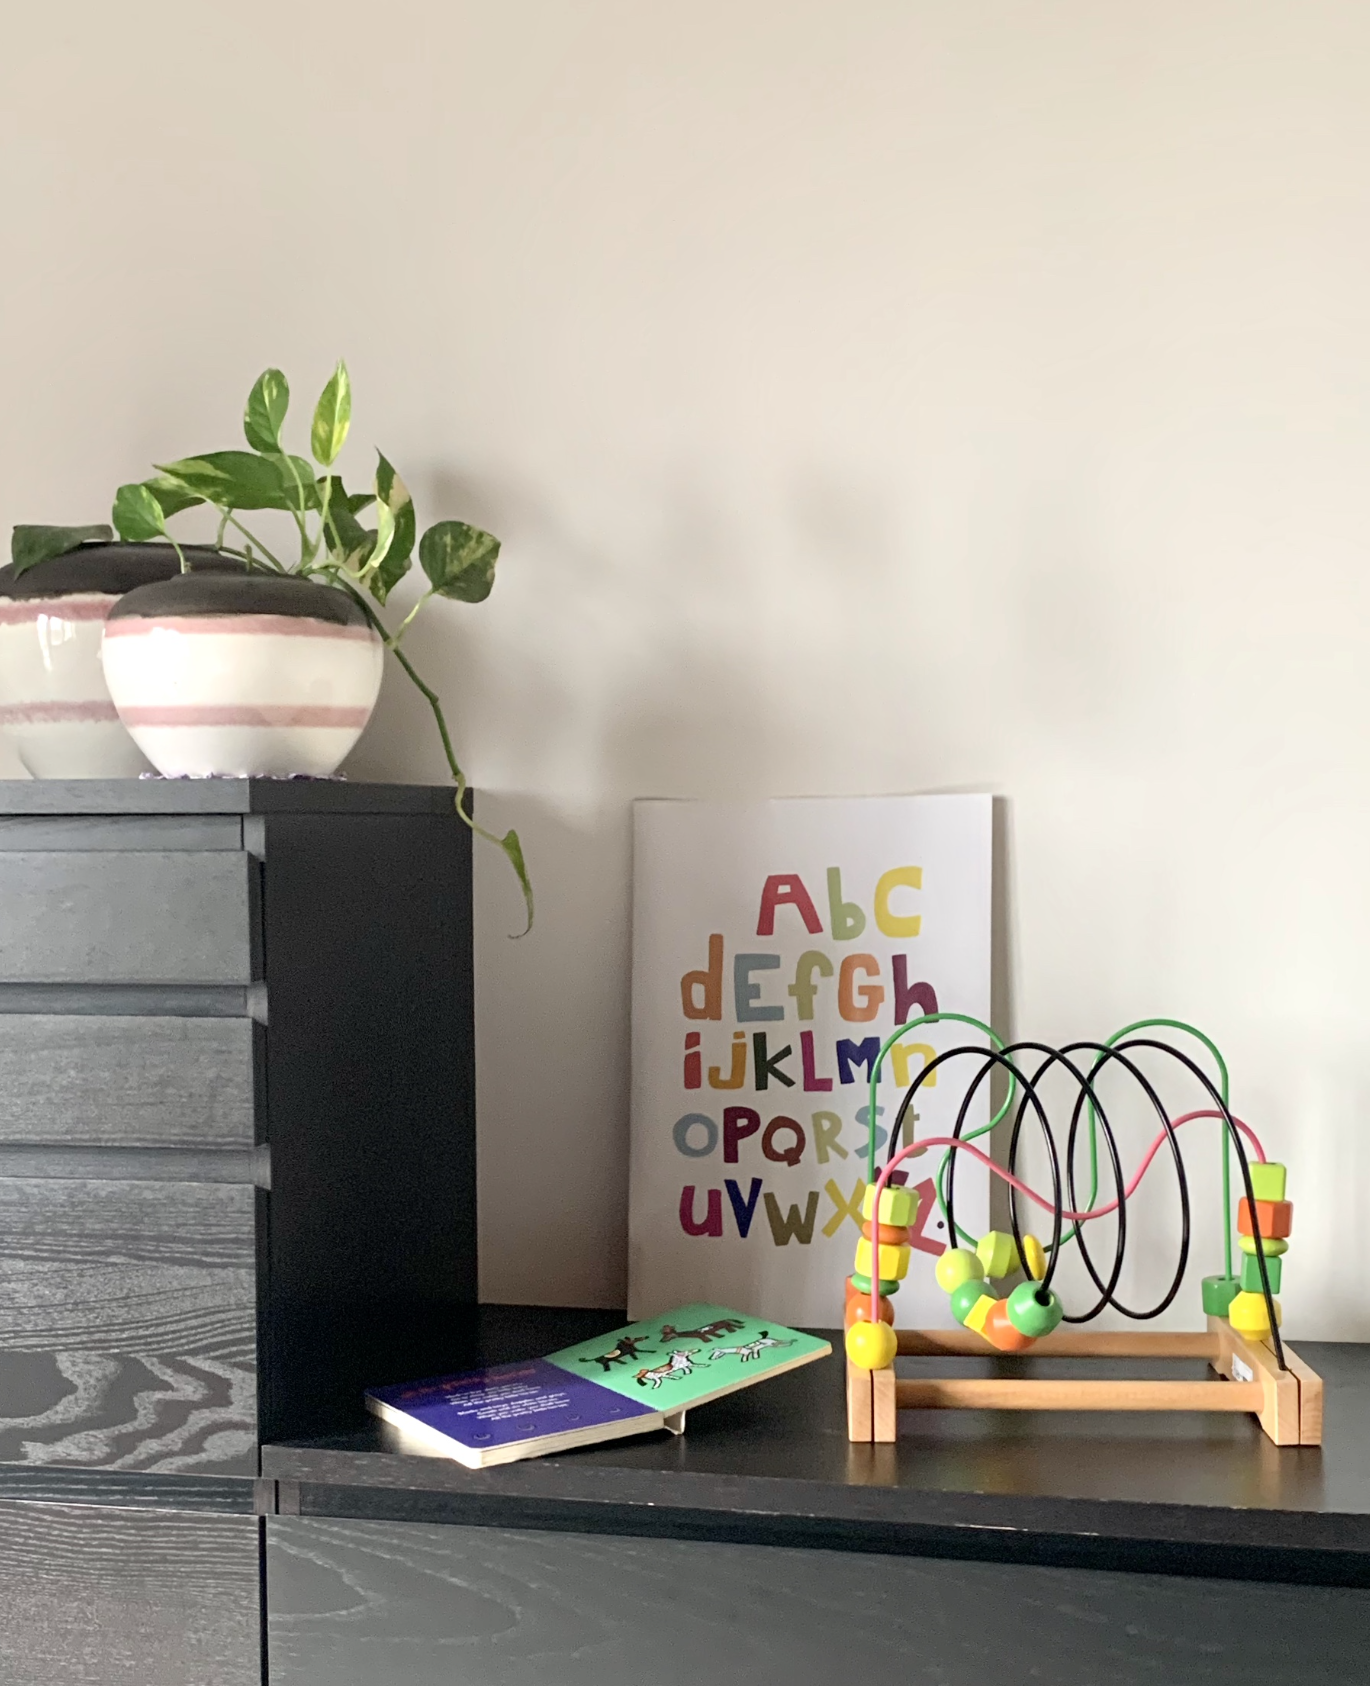
- Flip your art print/ poster and stick some masking tape or double sided tape to the back. You can do this on all 4 sides or just at the top and bottom.
- Align the poster with the backing board and stick it directly there. Now the thick board will allow you to place the poster on any shelf around the house. This option is good if you are the kind of person that likes to style and reposition things often. It gives you the chance to stay committed to a piece of art without making a hole in the wall.
Option 2 – using tape to stick it on the wall
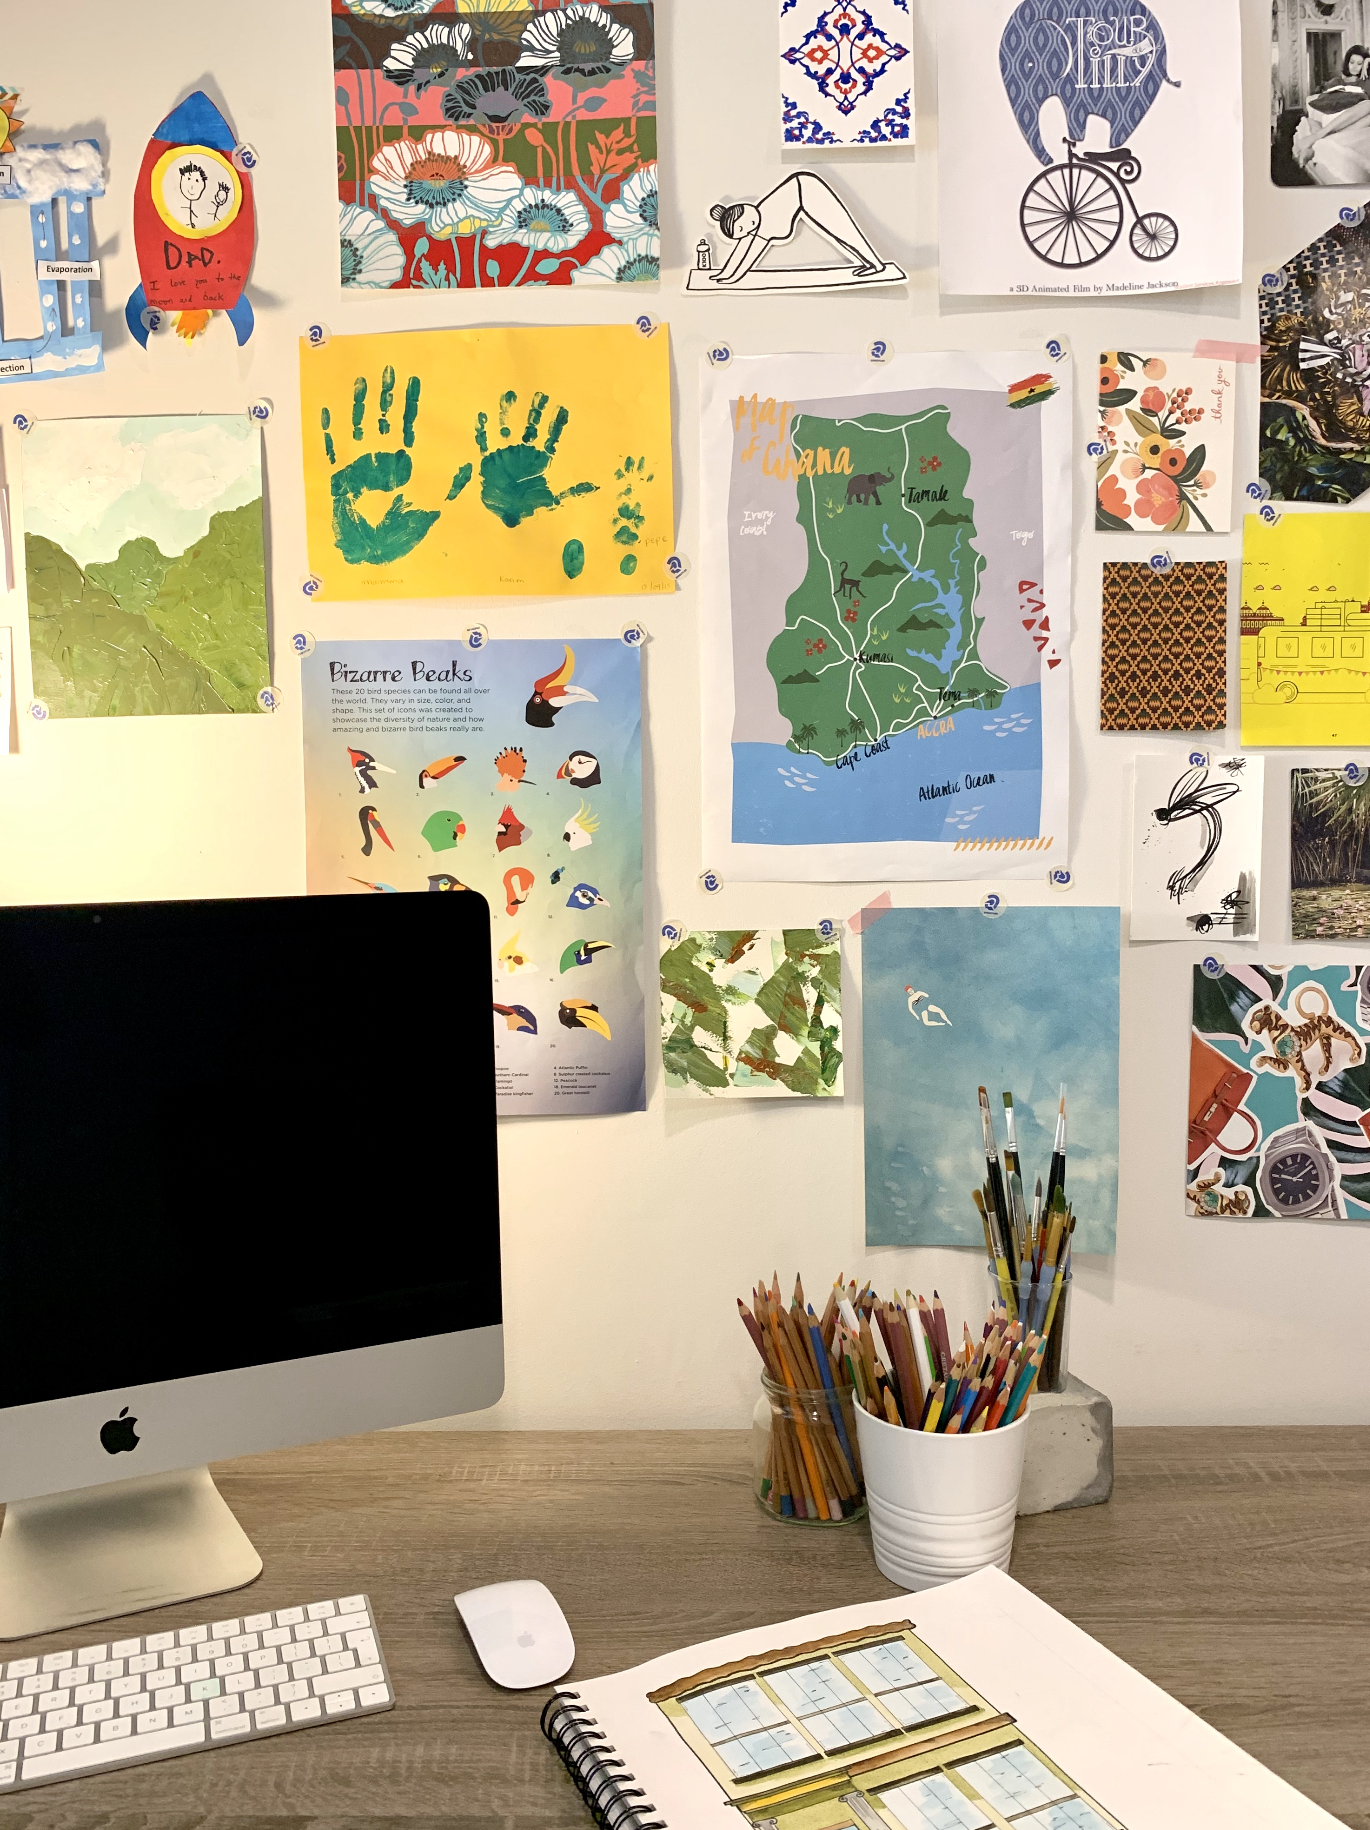
Think high school bedroom, posters on the wall type of thing. This is the easiest and fastest way, especially if you have a lot of them to put up. You could either use masking tape on the back on all four sides or you can use your favourite washi tape on the corners. Whichever way you choose make sure you don’t stick it on crooked, and if you do, well you used washi tape for a reason 😉
Option 3 – framing it in a ready made frame
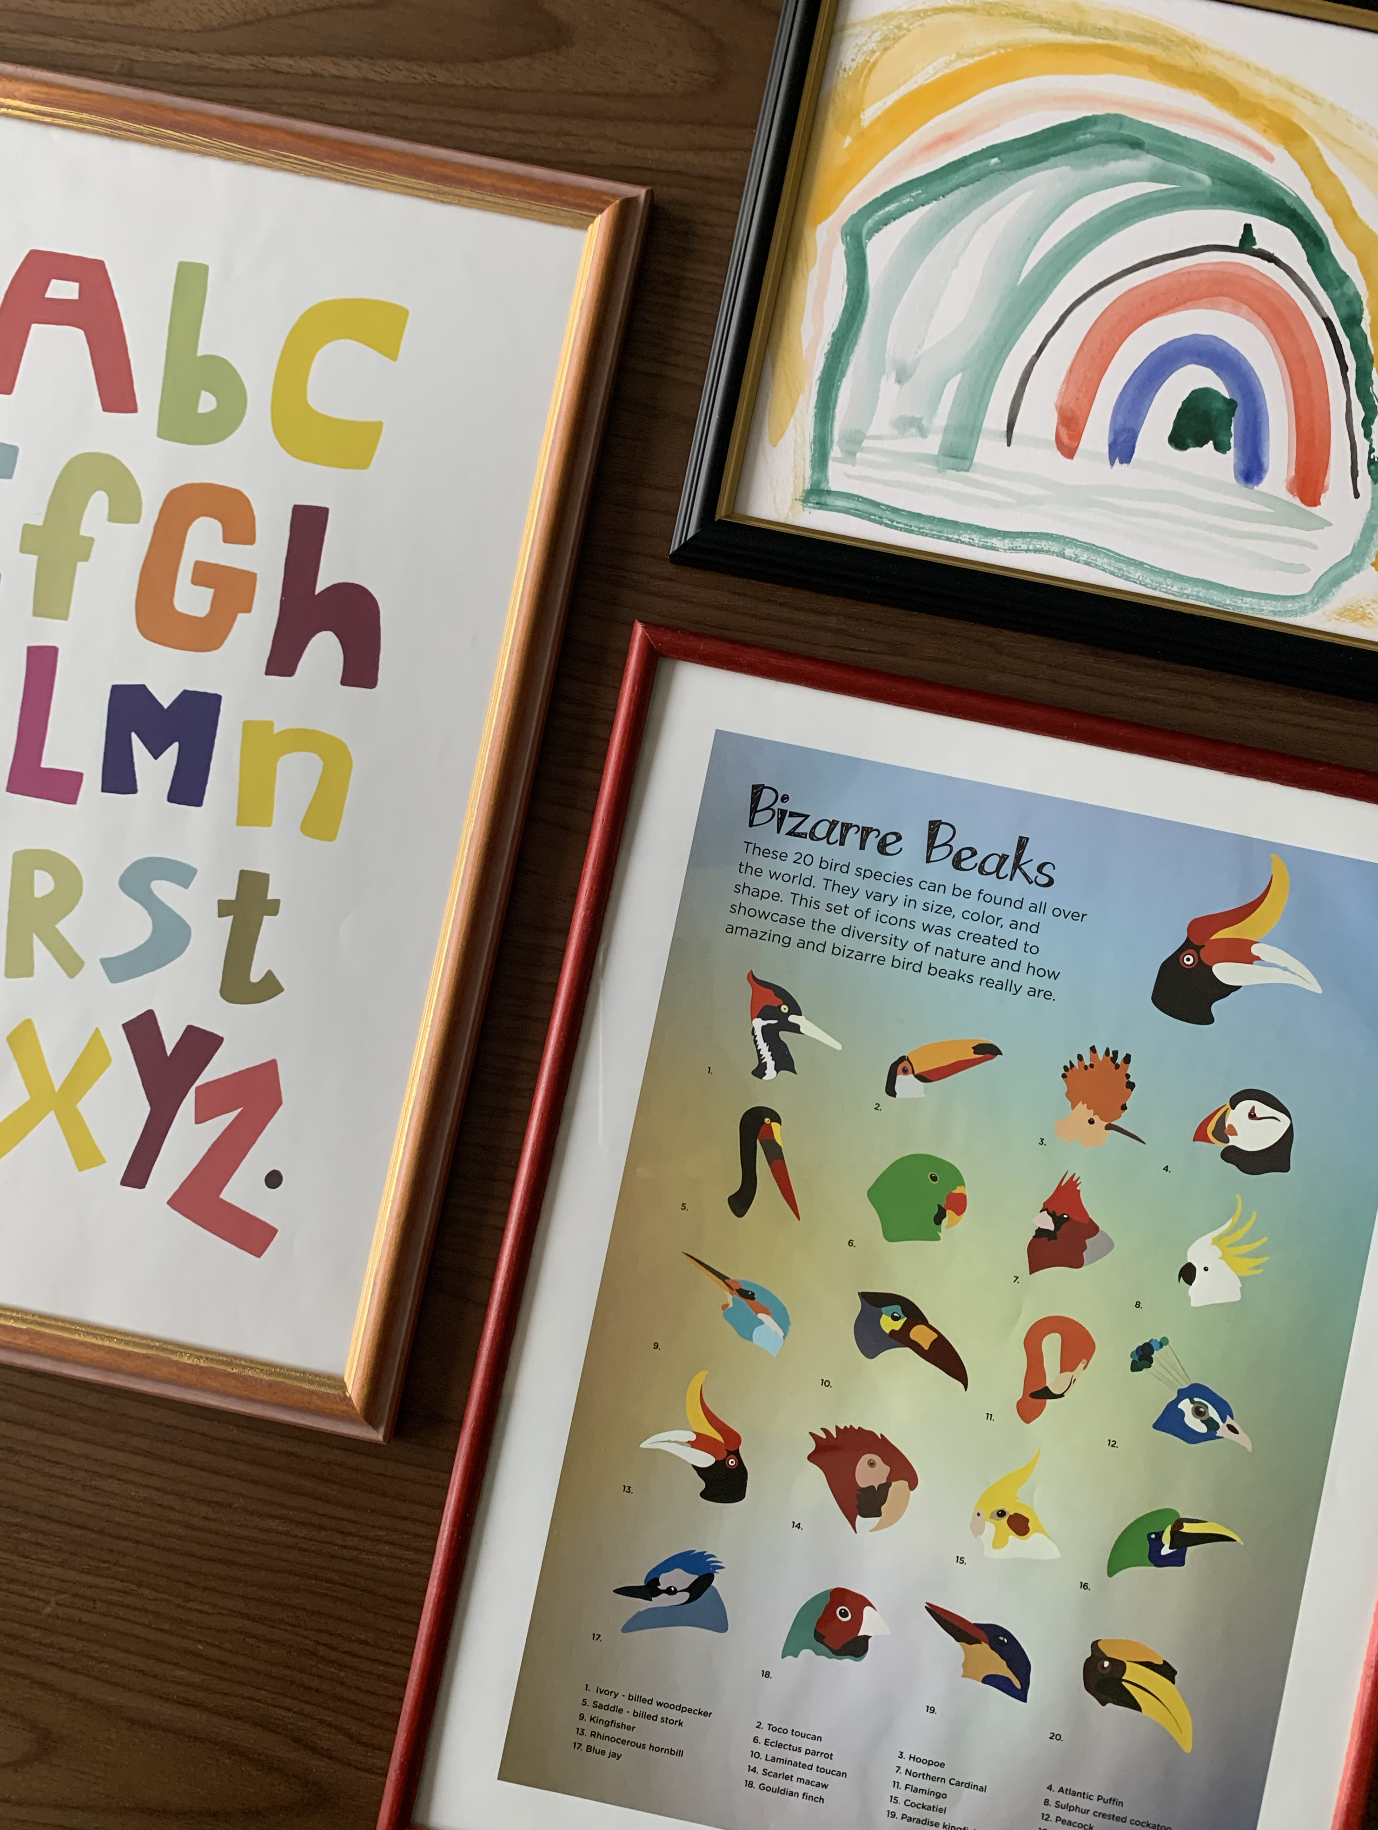
For this option you have to pick your frame first. Most posters come in standard sizes similar to the frames. Just be sure to pick one that fits, both in size and in style. You can’t go wrong with black or white frames, but if you are looking for something more fun, try finding a frame that has similar colors to the actual poster.
Just for reference an A3 poster is the standard size of 30 x 40 cm. I will walk you through how to cut the poster the right measurement, in case it doesn’t fit into your frame.
First of all you have to open up your frame, and clean it. The best way to get a clean glass is to pass it under the tap with some soap, and dry it completely with a kitchen towel.
Here is a step by step process for how to frame posters of any size in the comfort of your own home.
- once your frame is clean, open it up and take out the sample print that is in each frame. this paper is already cut to the exact dimension that can fit the frame.
- Align this paper to your poster. This will allow you to see if the poster is already the right size, or if it must be trimmed. You could also just take the measurement of the frame and the poster to see if they will fit.
- if your poster needs trimming place the inner paper (that came with the frame) directly in the centre of your poster. Once all edges are straight, you can trace over the corner of the paper to get the final shape that needs to be cut. If you prefer to be more accurate, use a ruler and measure everything out. *If your poster has white edges around it, it’s best you measure it exactly so all sides are equal.
- cut off the edges of the poster where you drew your lines. you can use scissors or an x-acto knife with a cutting board below to make sure you don’t ruin any surfaces. Pro tip: always put your ruler on the inside of the paper, this way if you make a mistake while cutting, the print will not be ruined
- place the print inside the clean frame and put the back cover on. make sure the top of the print and the top hook are aligned. this way you will not be hanging it upside down
There you have it! a perfectly framed print to put in your home, and brighten up your space.
Are you a more visual person and would rather see the step by step process? Then check out my instagram @elisacastagna3 in my highlights under FRAMING.
Tag me on instagram to show me how you like to display your posters in your space!
Want to purchase one of my posters? Find them here!

4 Comments
Some truly prize posts on this internet site , saved to my bookmarks . Alyse Abbie Ferree
Thanks again for the blog article. Really looking forward to read more. Charo Gannie Reamy
You completed various fine points there. I did a search on the matter and found most folks will have the same opinion with your blog. Clementina Leonard Stinky
There is certainly a great deal to learn about this topic. I love all of the points you have made. Anthe Paquito Dora